How to mount (mikro) Uši (Pro)
There are endless ways to mount Uši microphones — from purpose-made clips to a coat hanger. This page covers the ready-made options, improvised alternatives, and a few classic positioning techniques to get you started.
All Uši-family microphones share the same silver groove near the capsule, so most clips work across the range. Just match the size: Uši / Uši Pro / Ucho Pro use the ⌀13 mm accessories, while mikroUši / mikroUši Pro / mikroUcho Pro use the smaller ⌀6.8 mm ones. If you'd rather 3D-print your own, see DIY clips & accessories.
Clips & mounts
Uši clip
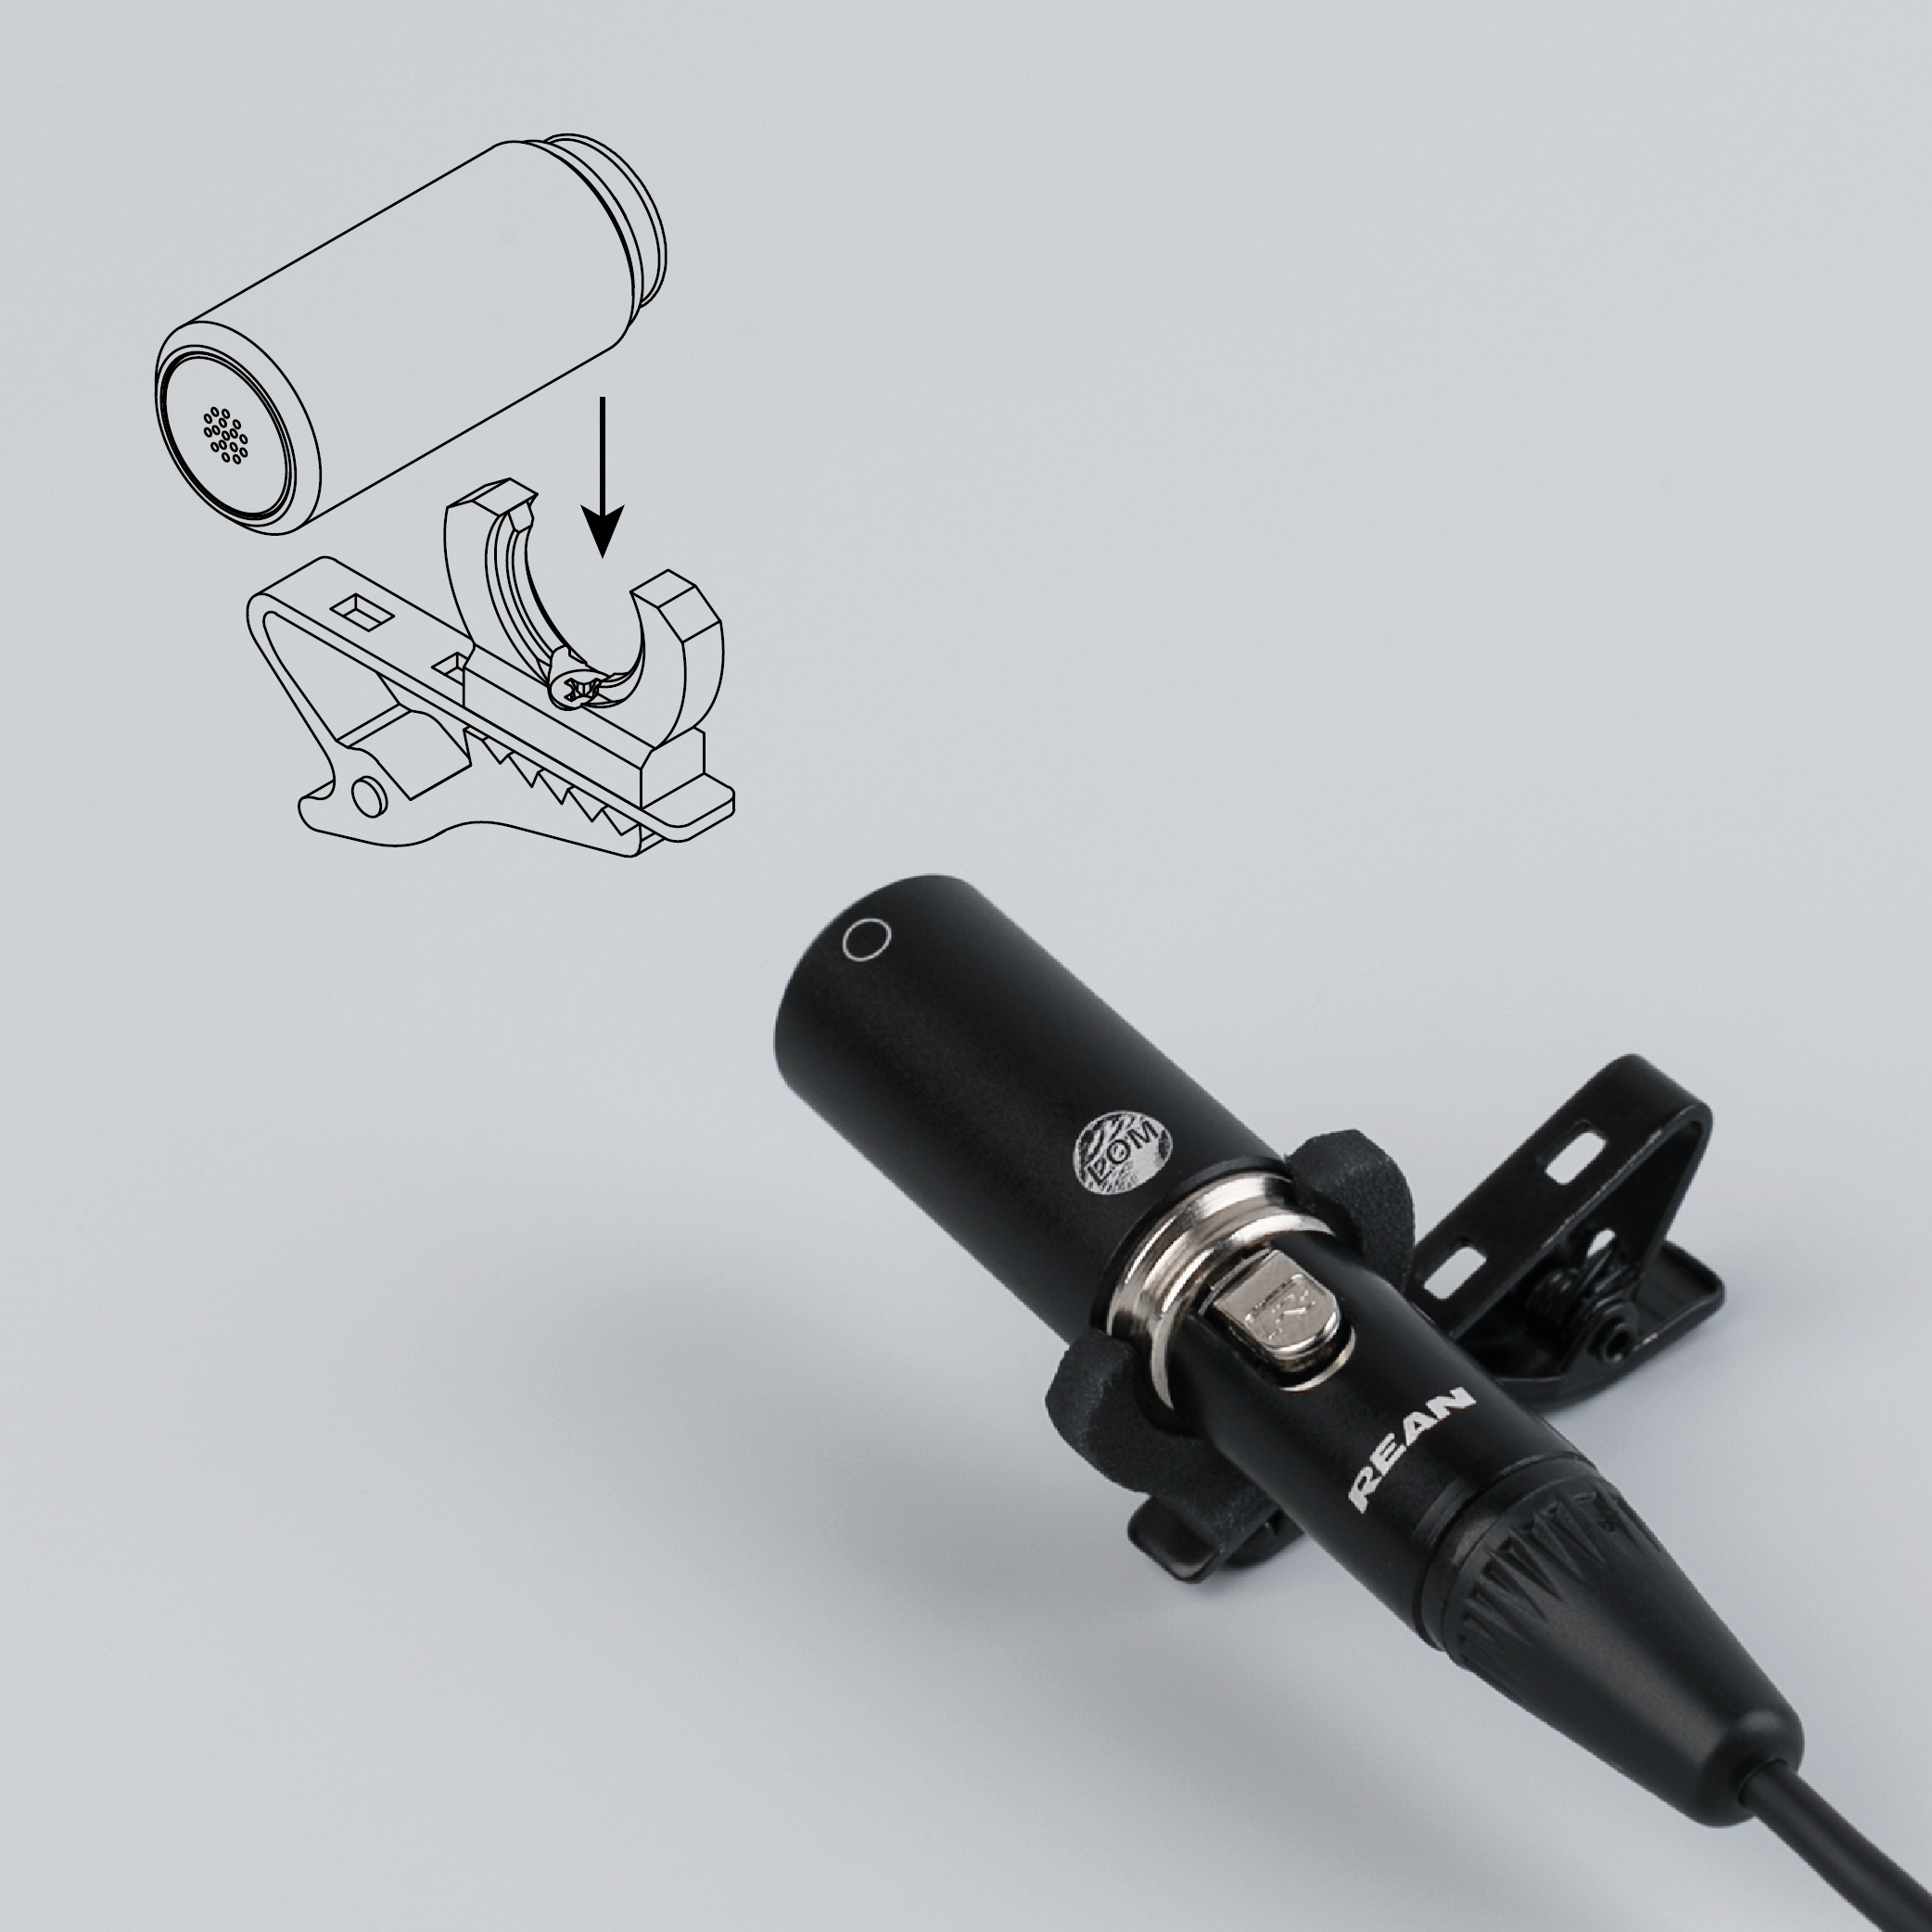
Uši clips are the simplest option — clip them onto the silver groove on the microphone body and you're ready to position the mic on clothing, straps, or a stand.
Uši mount
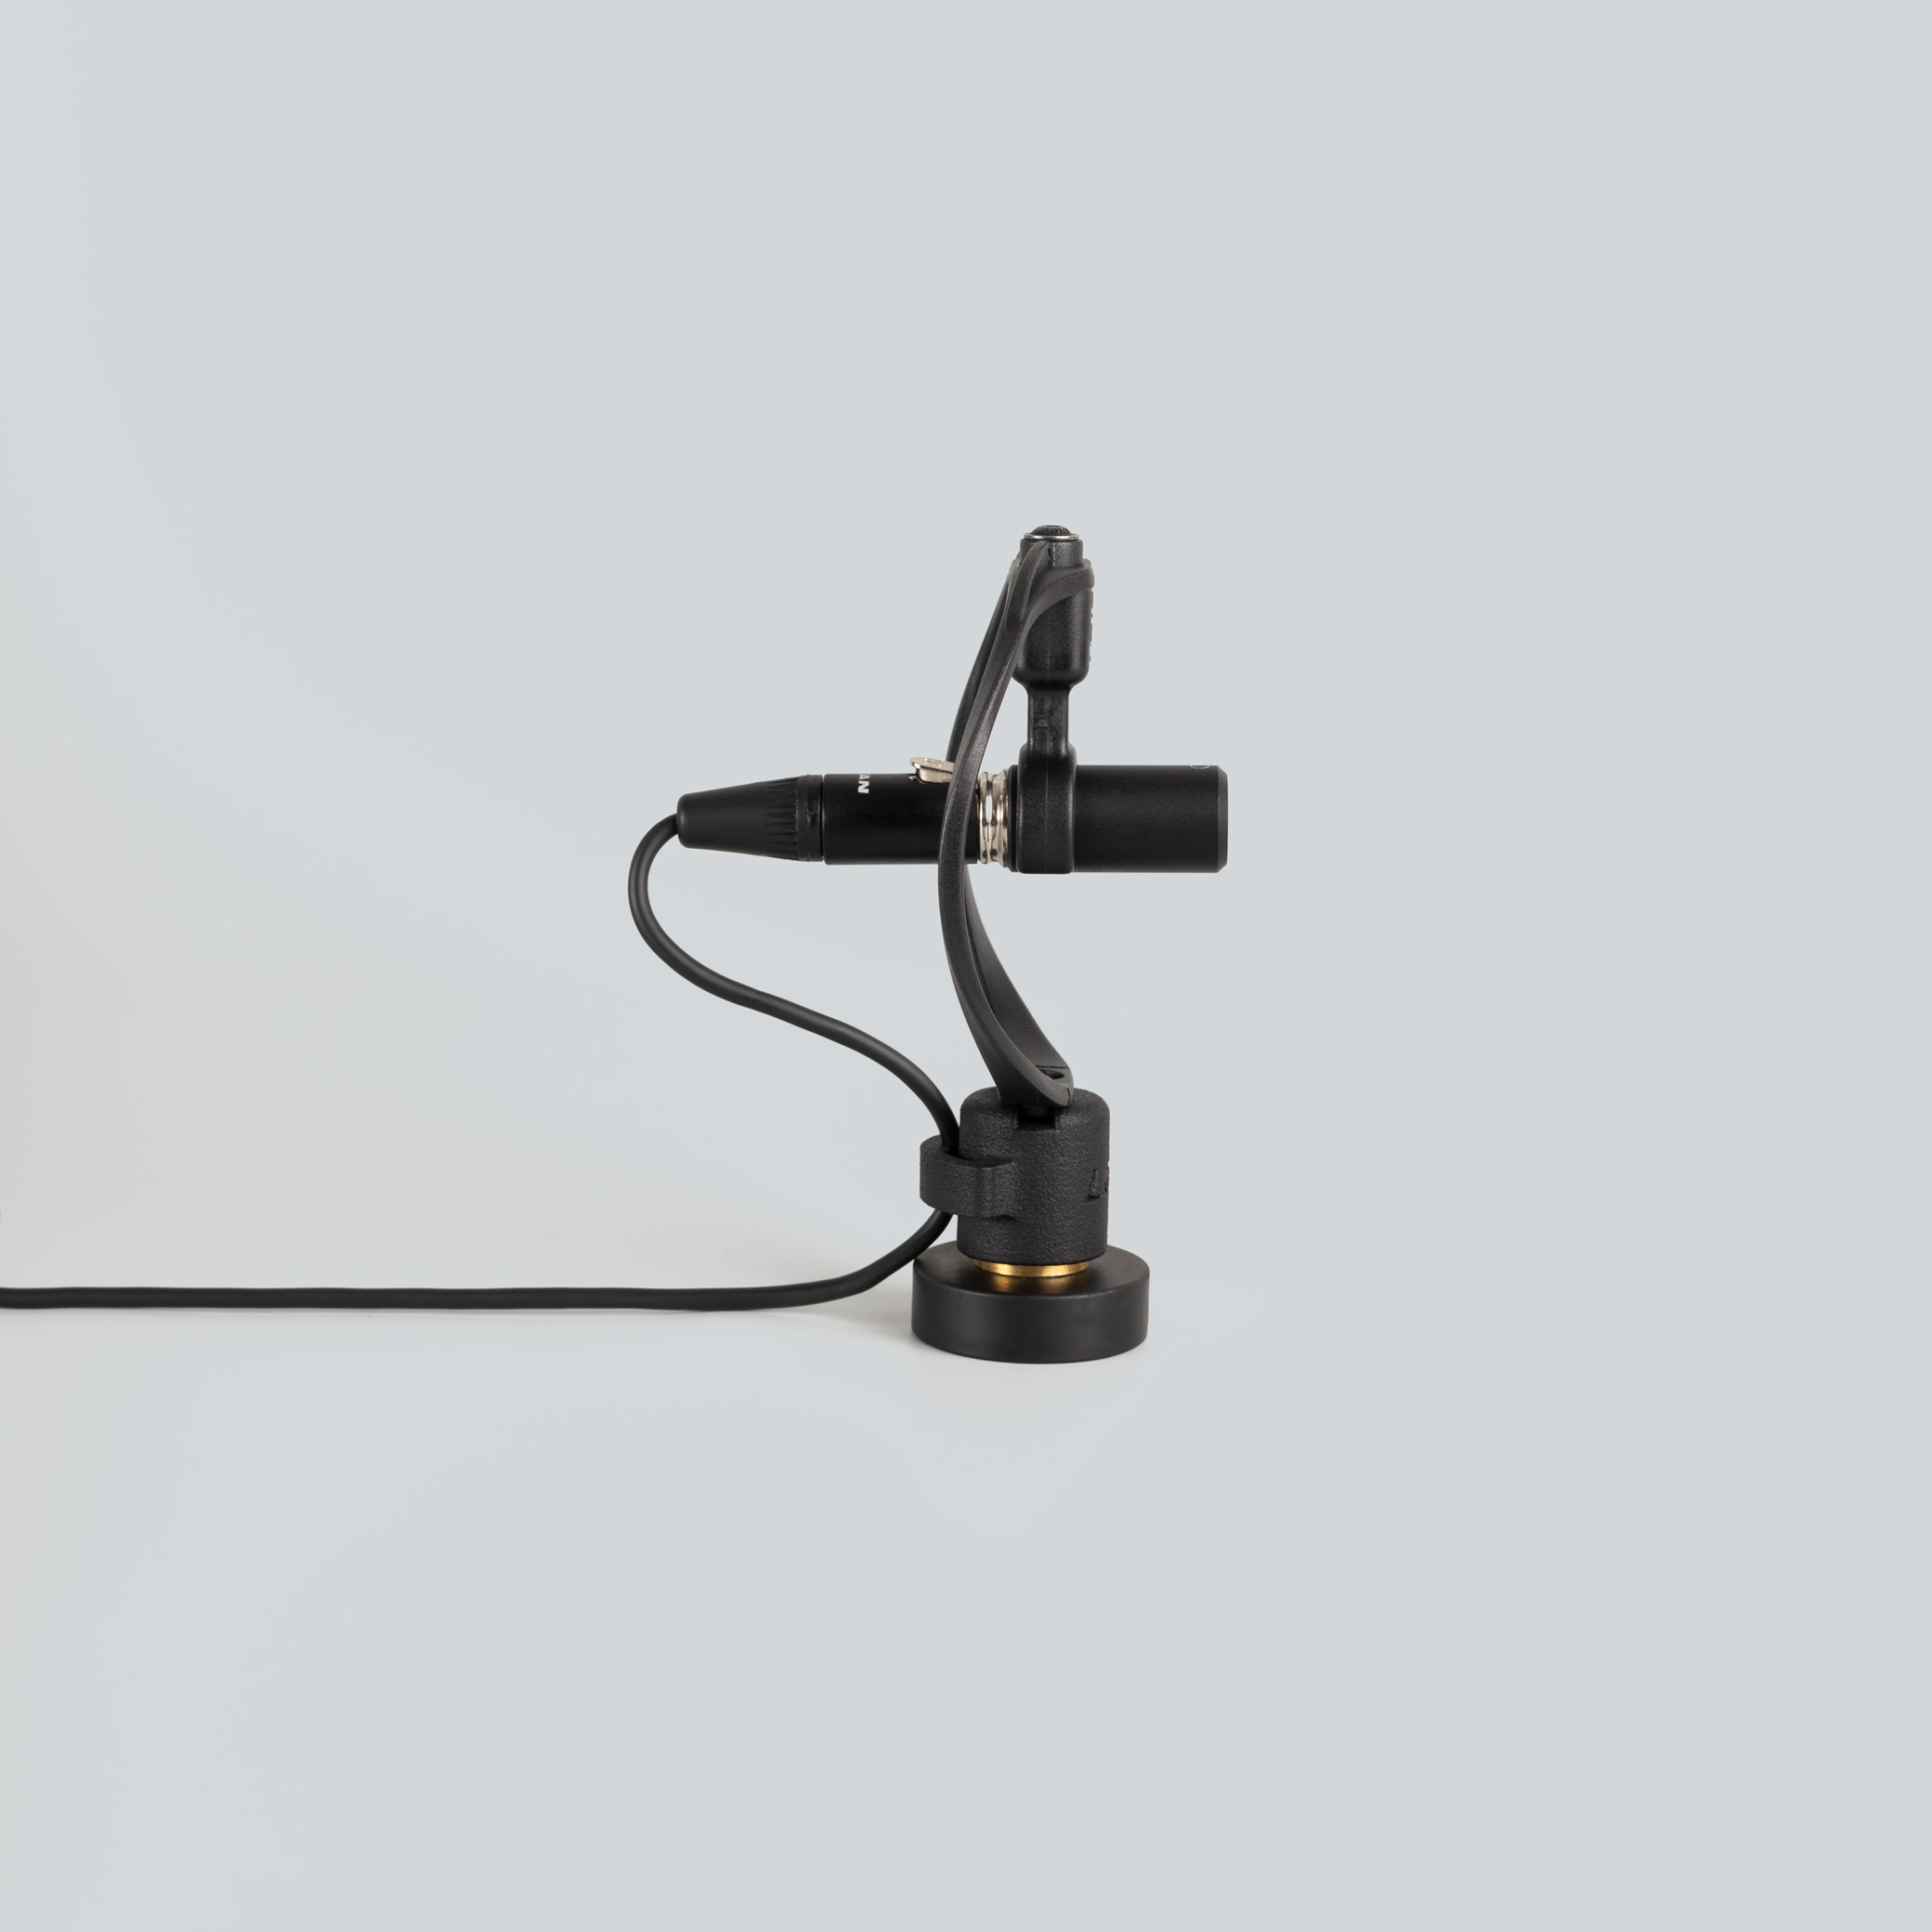
The Uši microphone mount is the professional solution for the Uši range. Its lyre suspension gives excellent isolation from vibration (handling and stand-borne noise). It's also the only mount we recommend for Elektrouši, whose plastic case other clips can damage.
Uši magnetic clip
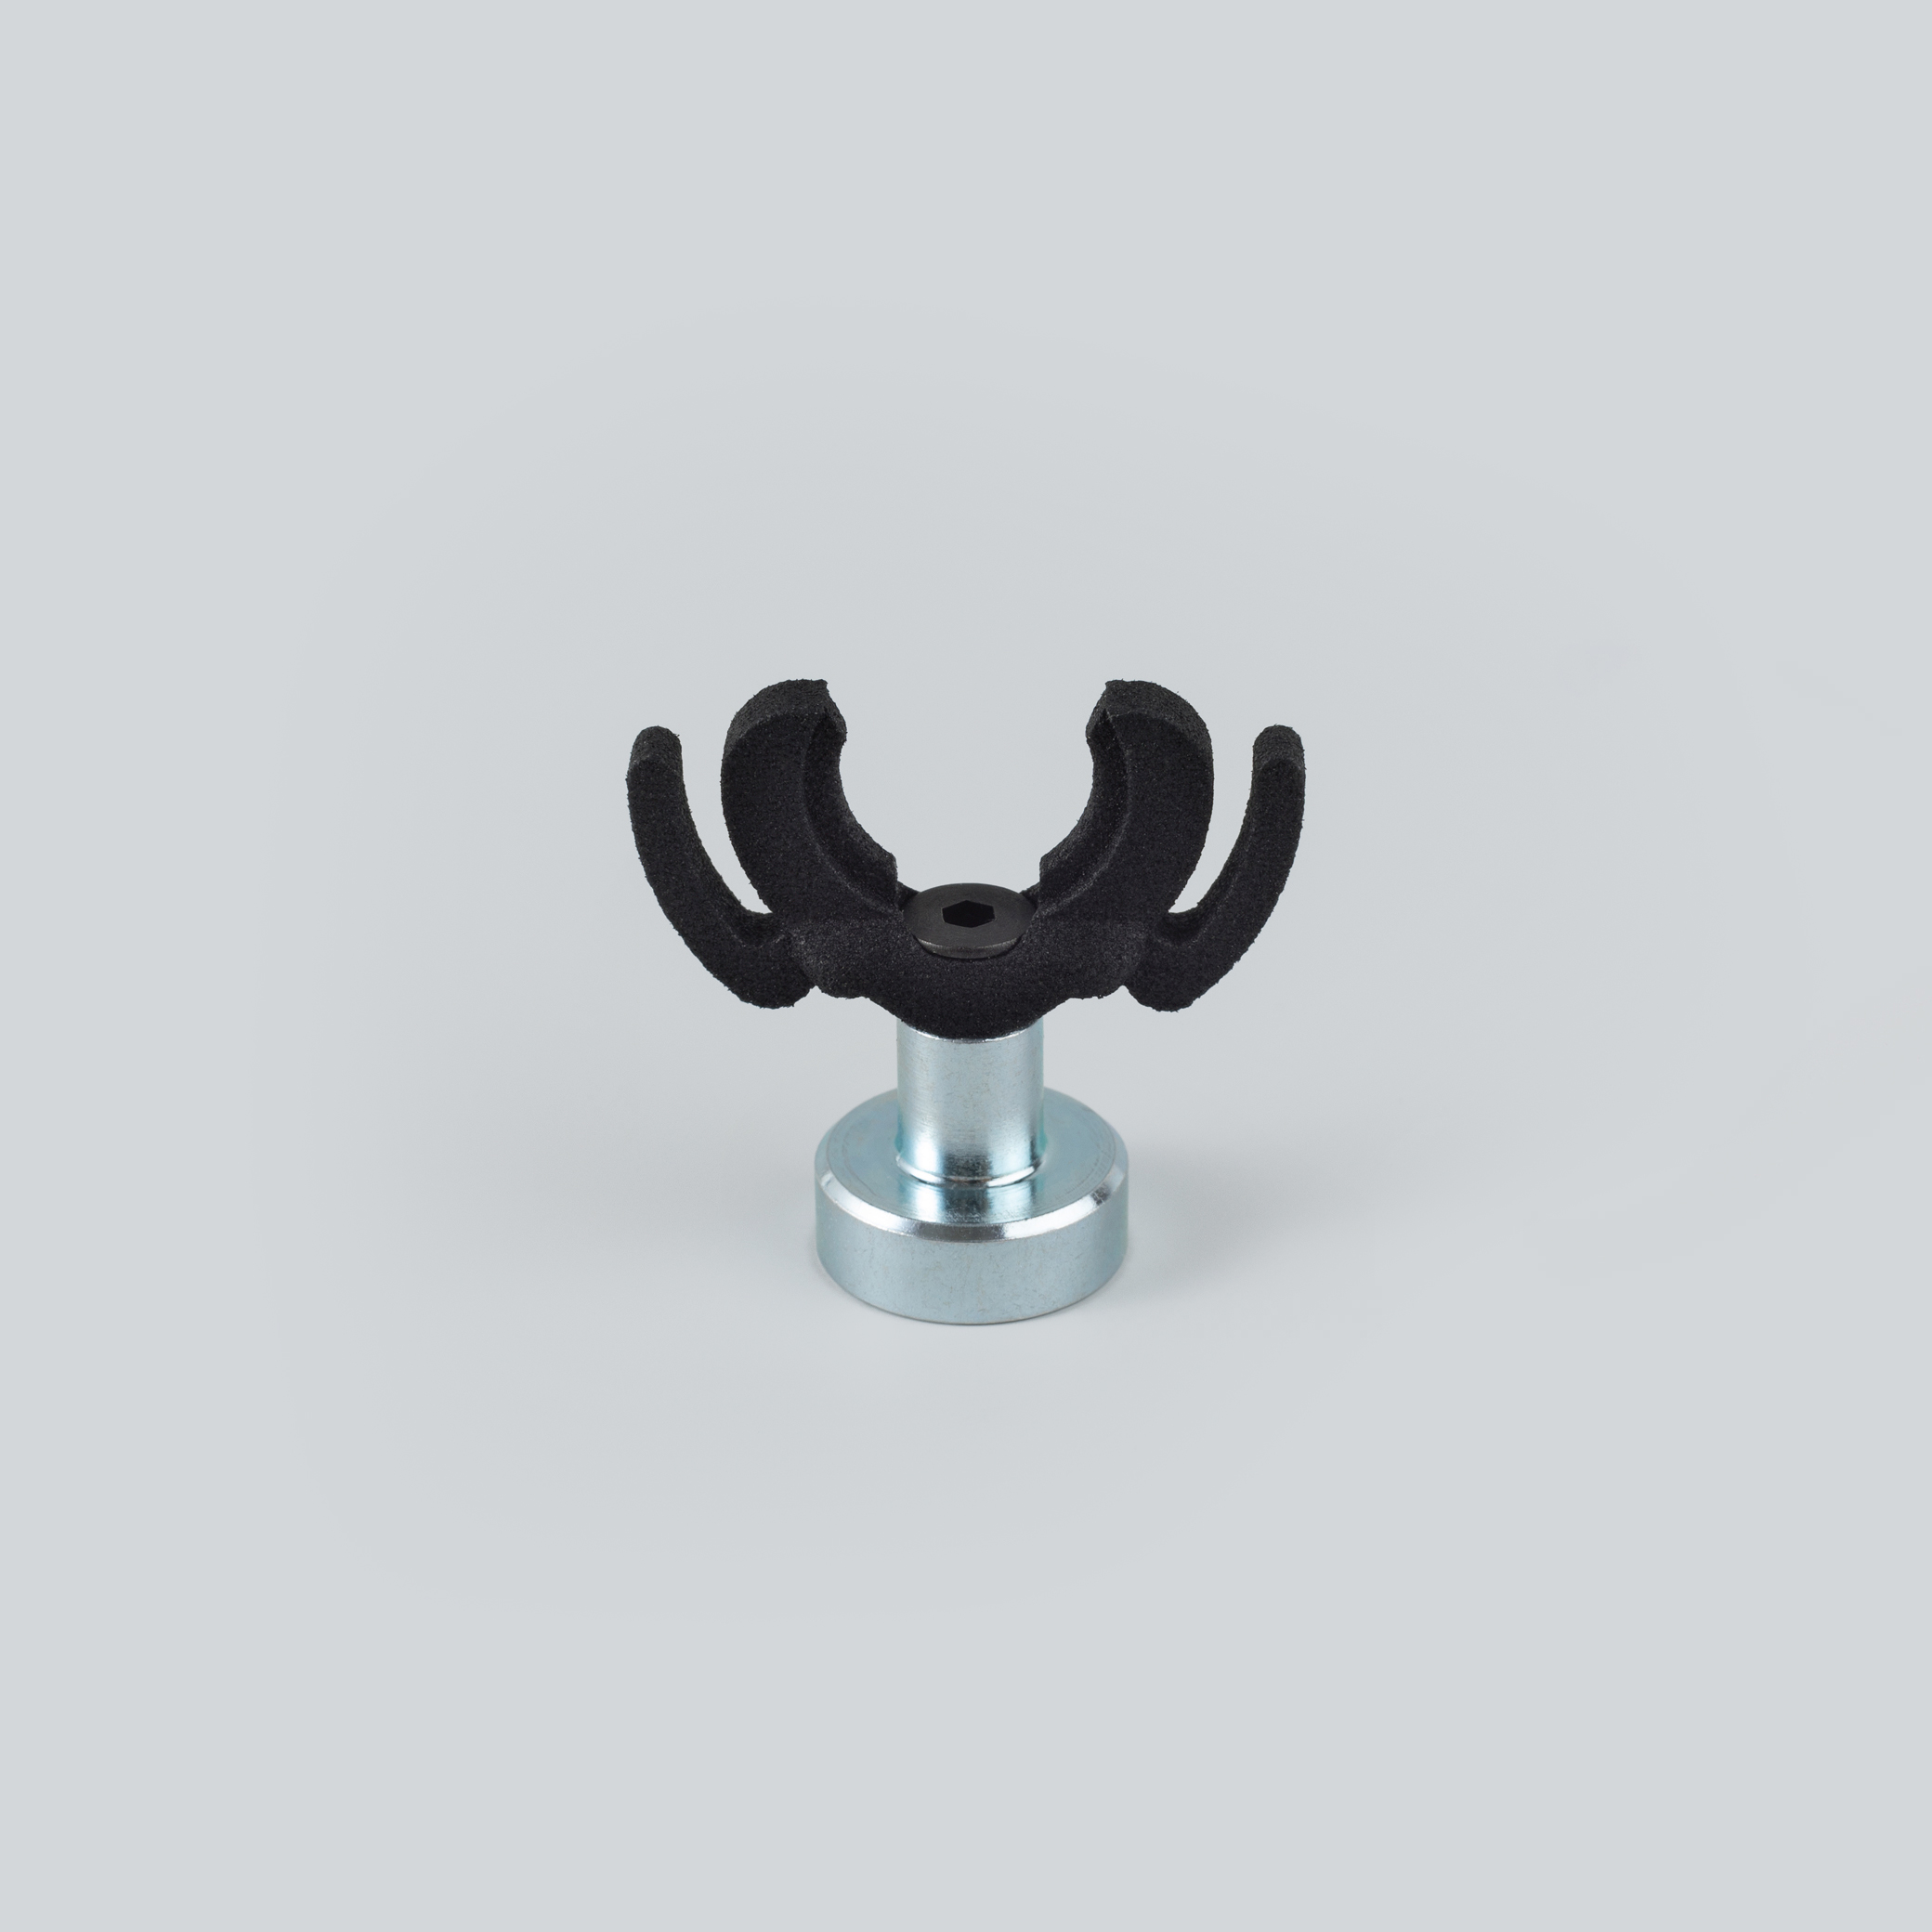
The magnetic Uši clip lets you snap the microphone onto any ferrous surface — railings, radiators, machinery, car bodies — for quick, stable placements without a stand.
mikroUši clip
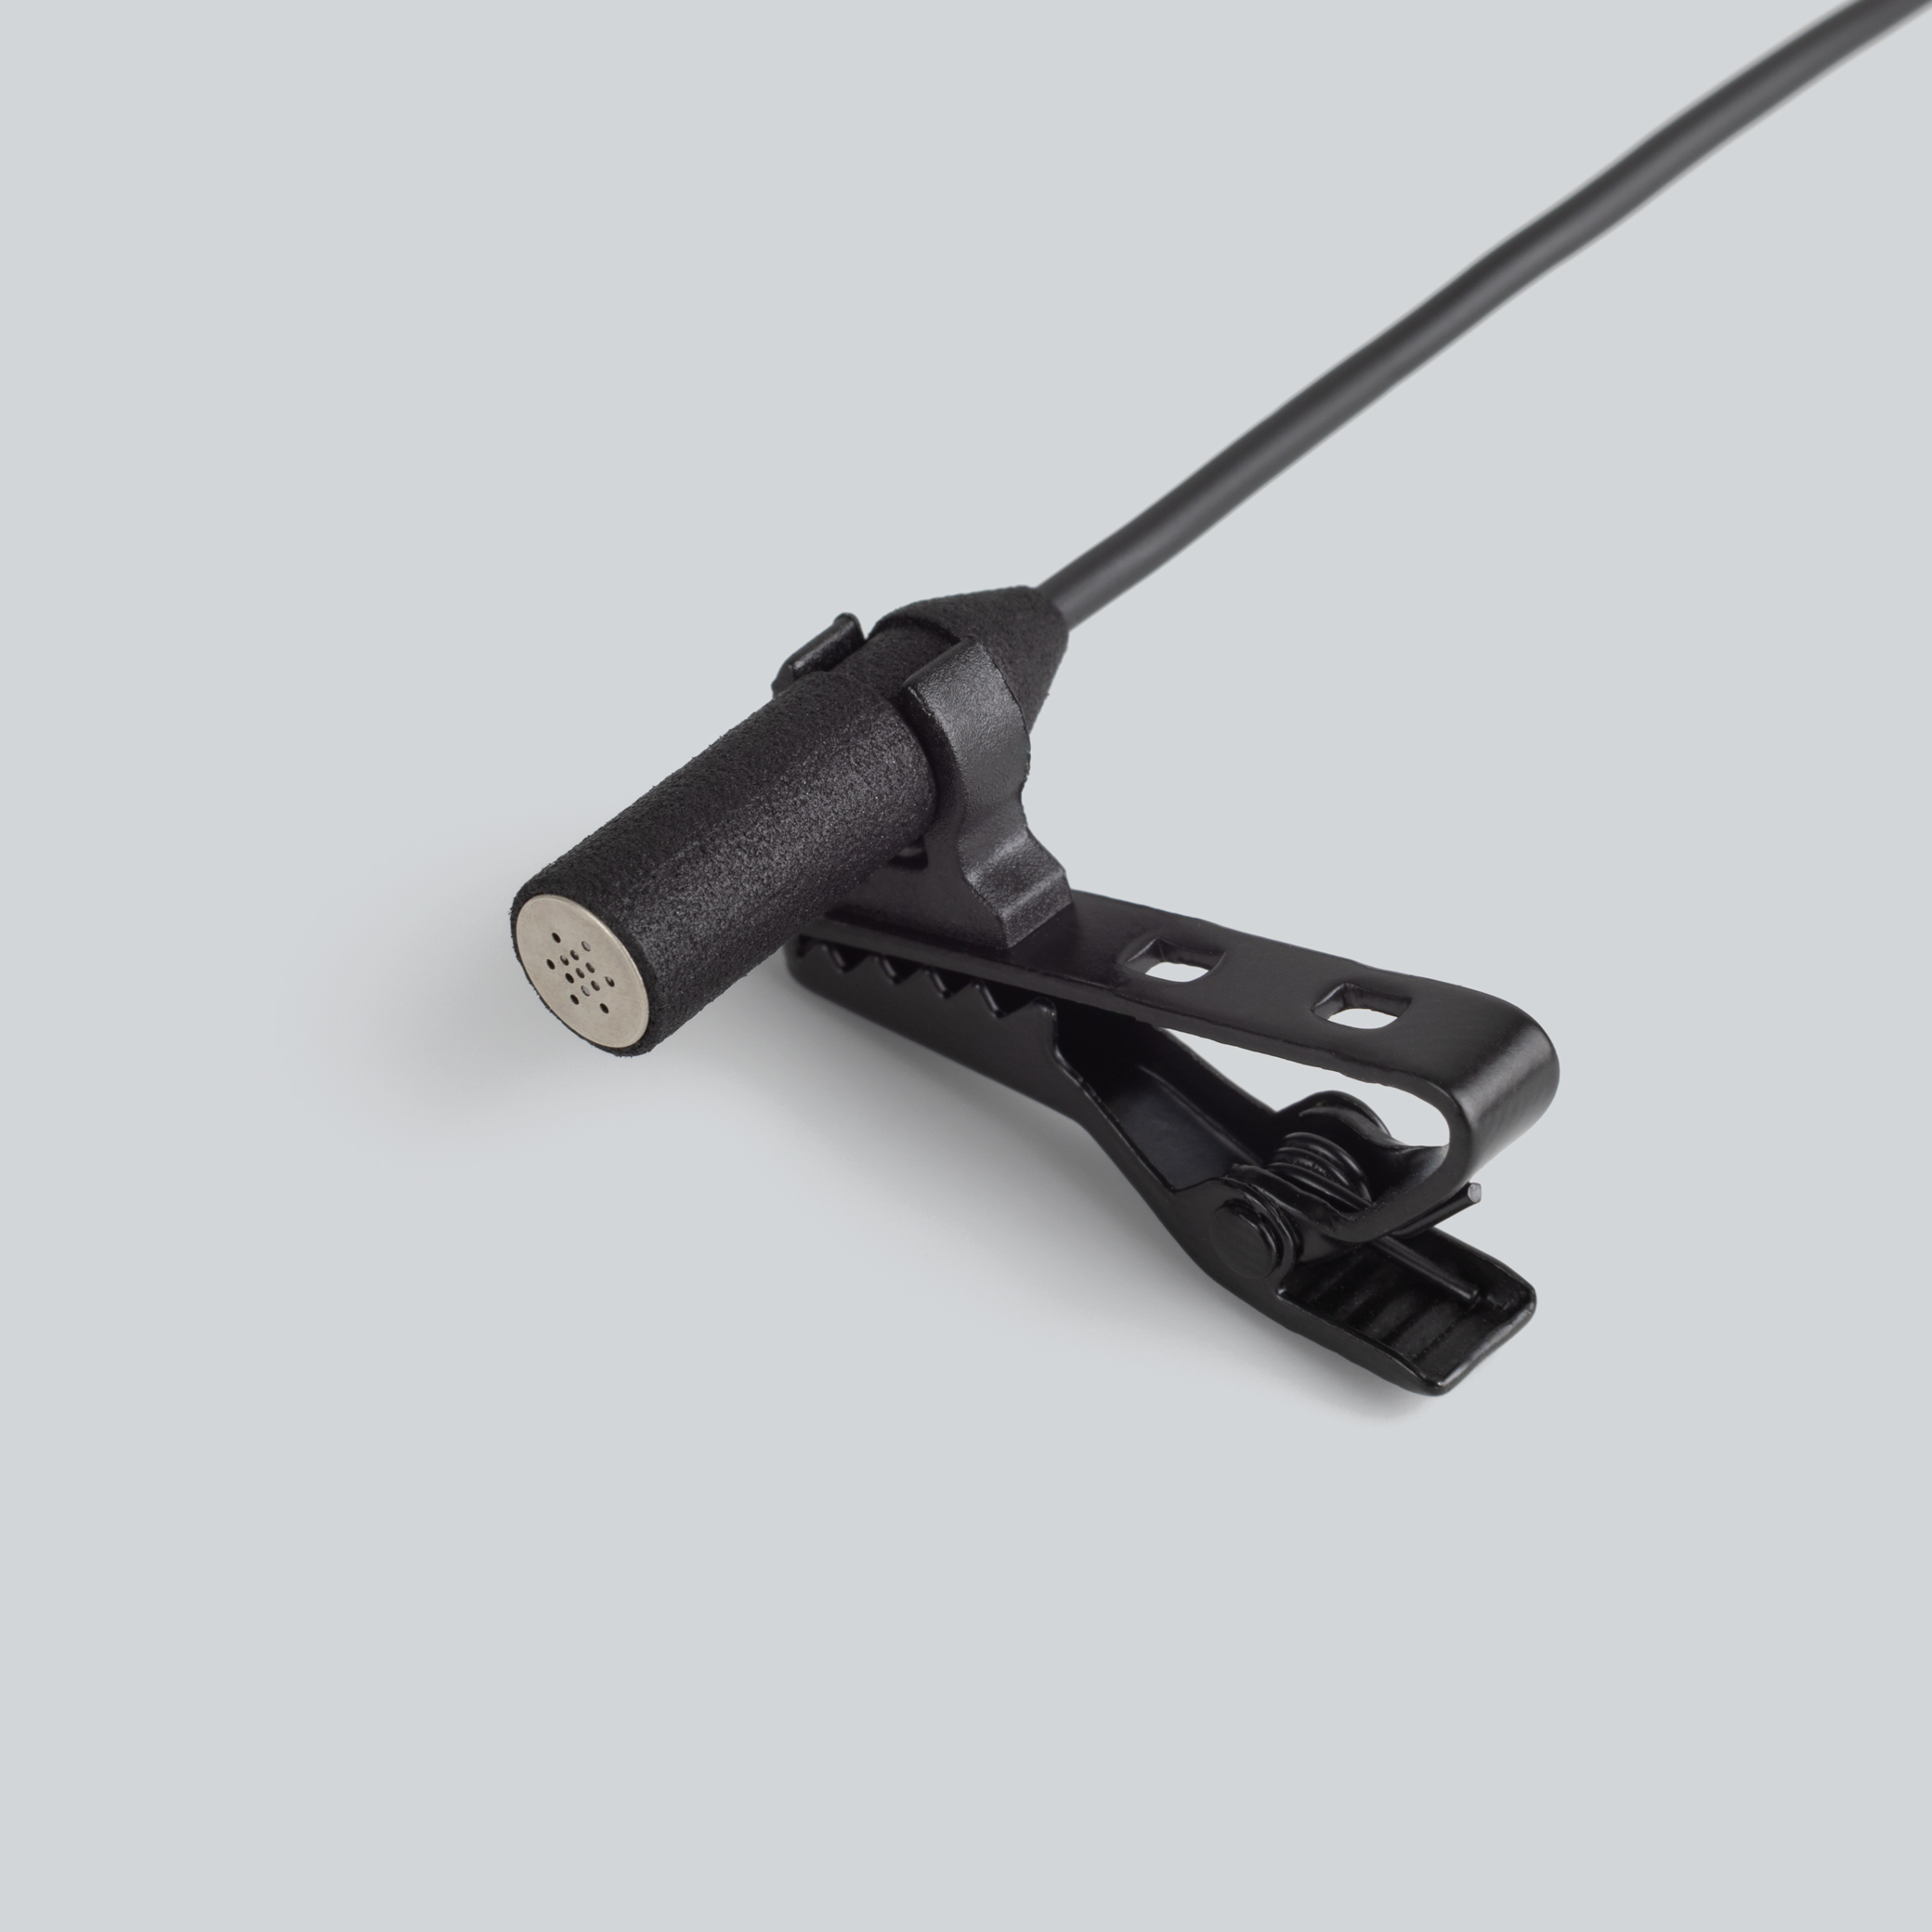
mikroUši clips are designed to be used together with wind protection. Attach the microphone to the clip via the provided groove — see the mikroUši clip page.
basicUcho mount
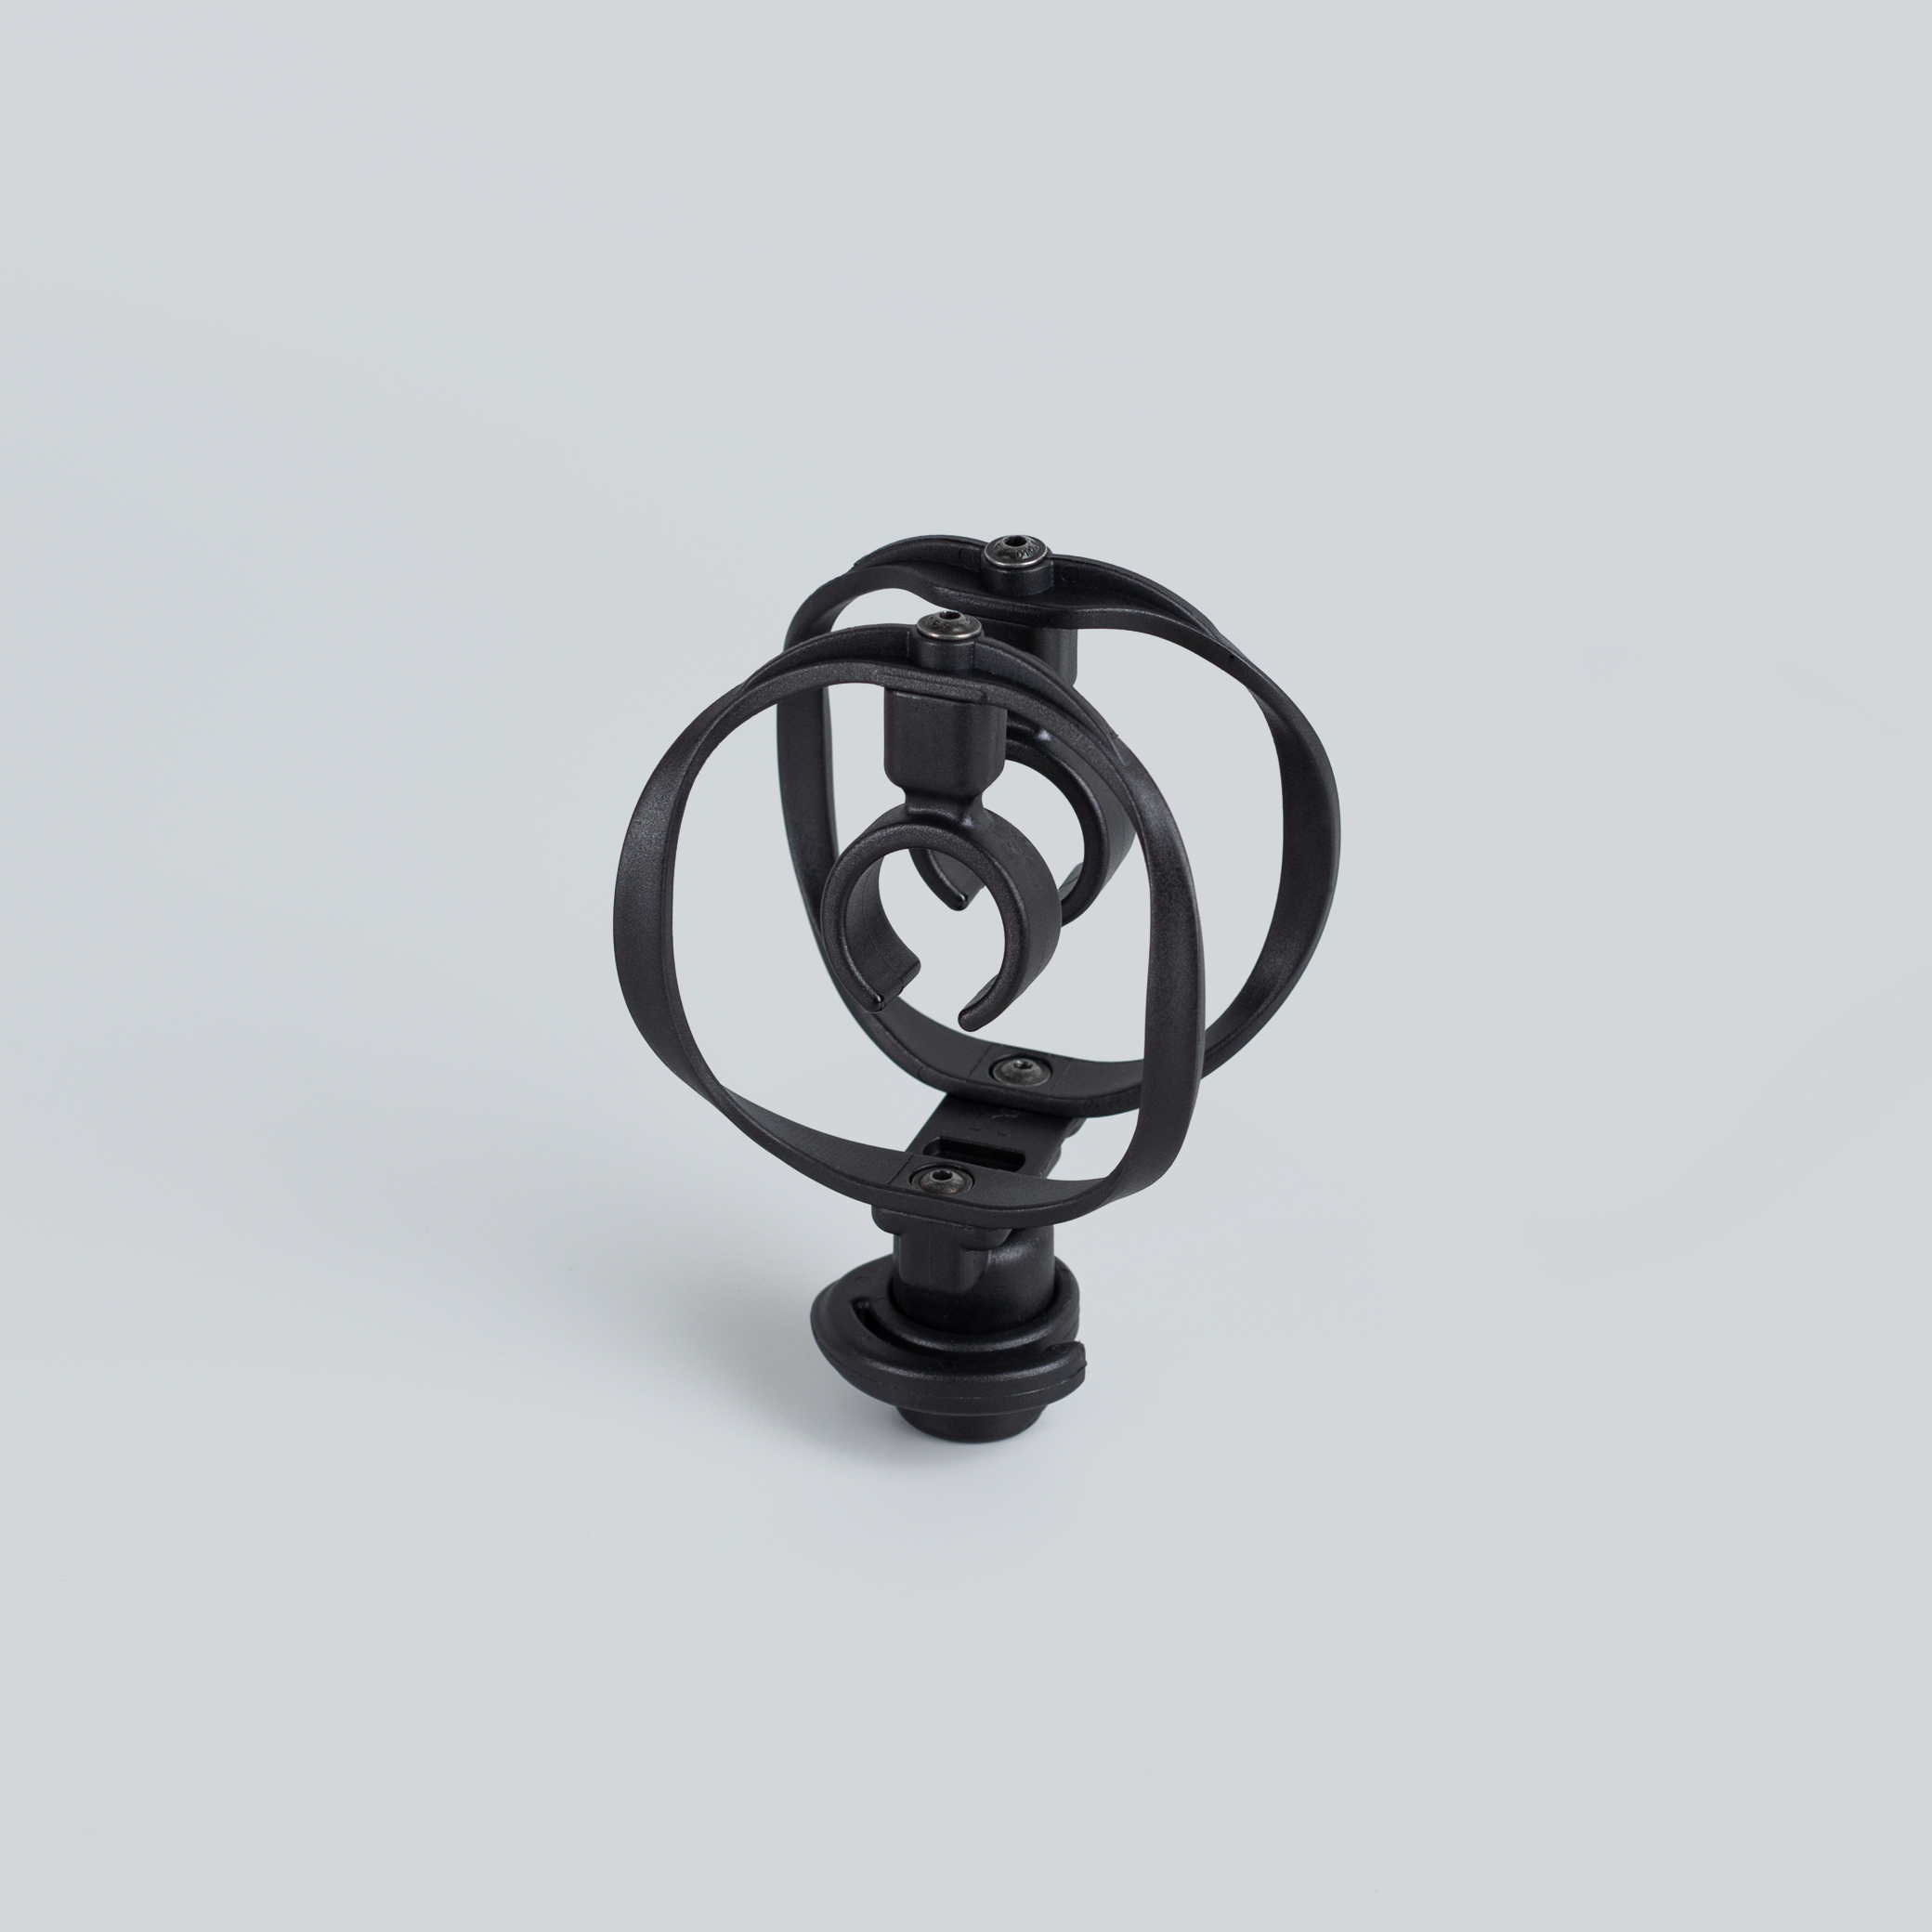
The basicUcho mount is the professional mounting solution for the basicUcho range. Its lyre suspension gives excellent isolation from vibration (handling and stand-borne noise).
Creative & improvised mounting
When you don't have a clip handy — or want an unusual placement — Uši are small and light enough for almost anything:
- Rubber bands — lash the mics to your fingers for expressive, hand-held positioning, or to almost any object.
- Solid-core wire — bend it into a custom holder or gooseneck.
- Duct / gaffer tape or blue-tack — quick, temporary placement on walls, windows, and surfaces.
- Recorder bag — attach the mics to a bag strap for a stealthy, discreet setup.
Microphone arrangements
Binaural recording
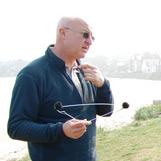
A popular technique that simulates the experience of listening: the microphones are placed where your ears would be, producing strikingly realistic, immersive recordings. The formal approach uses an artificial dummy head, but we've had great results simply mounting the mics on a pair of glasses at ear position.
Coat hanger
A classic method (apparently invented by Chris Watson): clip the mics to a regular metal coat hanger, which doubles as a lightweight, packable stereo bar and stand.
Spacing & angle
For a wider stereo image, space the mics further apart; for a more focused, mono-compatible image, bring them closer. There's no single correct spacing — experiment, and let the source and the space guide you. Some people prefer going at least 40 cm with omnidirectional microphones — use your ears when setting up and pick the spacing that suits you most.
See also
- DIY clips & accessories — 3D-printable clips, mounts, and the Uši expander.
- Microphones FAQ — cables, matching, and choosing a model.